The Sunny 16 rule - daylight photography without a light meter?
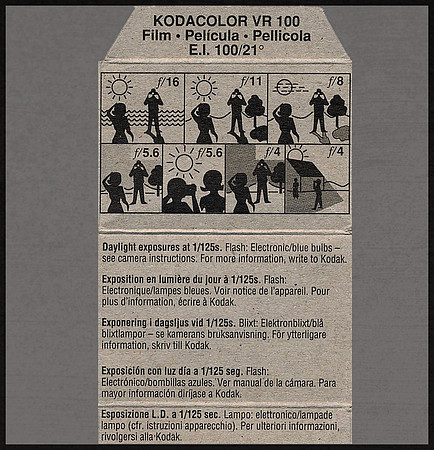
I first started taking photos in the very early 1970's using my dad's Argus C3 rangefinder camera and then shortly after my very first slr - the Exakta VX500. Neither camera had a built in light meter and not owning any sort of handheld light meter at that point in time, I learned to take photo two ways. (1) - For outdoor daylight photos - I simply set the camera according to the exposure guide that was printed on the inside of the box of the particular film I was using, and (2) - For inside photos - I used a flash and would set the exposure according to the guide on the back or top of the flash and for the overwhelming majority of the time, my photos would come out just fine. Little did I know at that time that those exposure setting inside the box of film where based on a very basic but pretty much reliable rule of thumb for outdoor photography called the Sunny 16 rule.
 
|
|
| Back in the early 70's when I first started started my photography journey almost all rolls of film contained some sort of exposure guide printed on the inside of the film box similar to this box of Kodacolor 100 shown above. |
This would be the method in which I would expose my photos for the next couple of years - for it would take that long before I would obtain a basic handheld light meter. It would be during that period of time in which I would learn that those guides printed inside the boxes of film were based upon that same Sunny 16 rule. This basic rule would be the building block which would lead me to the next step. That step would be the exposure triangle - the relationship between the ISO , the shutter speeds, the f/stops and how changing one of those variables effects the other two and how that can effect things like exposure, depth of field, motion blur and the overall look of the final photo. For the beginning photographer just starting to learn how to use a fully manual operating film camera, with either no or a non working light meter, understanding Sunny16 is such an important foundation for learning to read light and comprehend basic exposure control while shooting in outdoor daylight conditions.

|
| There are slight varying versions of the Sunny 16 Rule depending on the time of day as well as possibly the time of year but the majority are similar to the version of the one shown above and a good starting point. |
The Sunny 16 rule is a basic rule for estimating your exposure based upon setting the f/stop of your lens to f/16 during mid morning to mid afternoon bright sunny conditions and then setting your shutter speed to 1 over the ISO of the film you are using. So if you are using ISO 100 then your shutter speed would be 1/100 of a second but since most manual film cameras don't have a 1/100 of a sec. the next closest shutter speed that the camera would most likely have would be 1/125 of a sec. So on a bright sunny day using ISO 100 film I would set my camera to 1/125 of a sec. at f/16. Please keep in mind that this rule is meant as a starting point and there are variables such as time of day, time of year and there is also discussion that even geographic location may slightly affect the results, but again this is a great starting point.
|
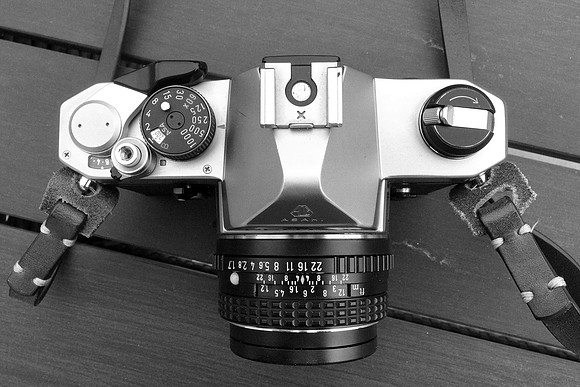
| Setting up my Pentax MX using the Sunny 16 rule this time shooting ISO 200 - 1/250 sec. at f/16 |
Understanding that the Sunny 16 rule is simply an estimate method of obtaining correct exposure and depending on the scene I may sometimes also incorporate a technique known as bracketing, where I will take three exposures of the same scene, the first exposure starting with the Sunny 16 rule of 1/125 of a sec. at f/16 using ISO 100 film ( based that I am shooting on bright sunny day ). While leaving the shutter set to 1/125 for all three shots I would then take the next exposure by opening the lens to f/11, thereby letting twice the amount of light though the lens and then I would take a third exposure setting the lens to f/22, letting half the amount of light pass through the lens. Another method of this technique - I would again start with the first exposure set at 1/125 at f/16 using ISO 100 film and this time leave the lens set to f/16 for all three shots. I would then expose the next photo at 1/60 instead of 1/125, allowing twice the amount of light to reach the film and then a third exposure at 1/250 of a sec. allowing half the amount of light in. Either method gives me three exposure rendering one exposure slightly lighter, one slightly darker and one in the middle. I would then pick the exposure that I think looks best. Both are methods of bracketing and for the beginning photographer are steps toward better understanding the exposure triangle.
|
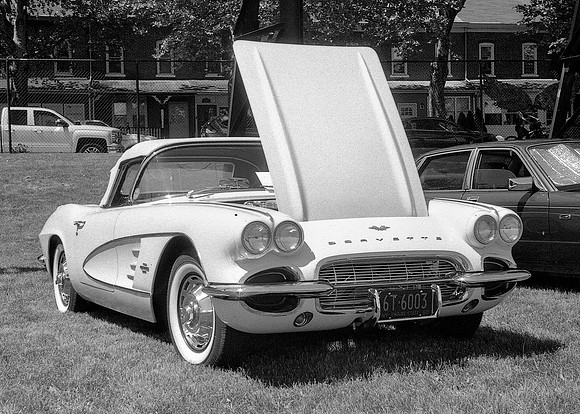
| Bracketing can be helpful on scenes like this when the subject is stationary but shooting things like street photos when there is no time to bracket, practicing and using Sunny 16 improves ones confidence and ability to read the light and previsualize the photo eventually diminishing the need for exposure bracketing. |
Knowing the Sunny 16 rule is great foundation for every photographer - film or digital - but for shooting film with no instant review I find it to be an invaluable tool to have stored in my memory bank. Based on reading incident light ( the light falling on the subject vs. light reflecting off the subject ) the Sunny 16 Rule has shown itself to be a pretty reliable method for obtaining proper daylight exposures. Even though some of my film camera still have working light meters or I'm using some type of auxiliary meter the Sunny 16 rule is great safety net if I happen to be second guessing my light meter. I feel every newbie film photographer would do themselves a big favor by taking the time to learn and practice this simple rule.
|
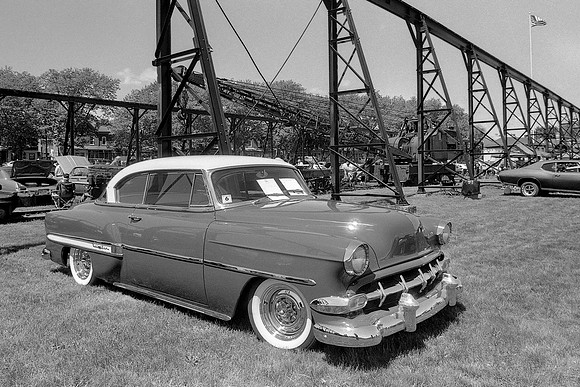
| Understanding the Sunny 16 Rule is a great safety net - especially when relying on an over 40 yr. old film cameras built in light meter. K1000 shooting in bright sun with 100 ISO film - 1/125 of a sec. at f/16 |
By no means is this blog in anyway meant to negate the need of a camera's exposure system or using a handheld light meter of any type or style. Mastering the use of reading light with any type or metering system or device is paramount in perfecting ones craft. This again is just a simple rule of thumb to help me comprehend and previsualize the scene in which I am attempting to capture and for all the new and veteran film photographers, it still a fun and rewarding way capture an image and just another tool in the photographer's tool box.
You can also catch more of my film photography @fasphoto on Instagram - Once again thanks so much for viewing my blog (-: