Going back to my roots. Shooting and developing b&w film again.
While practicing social distancing, I decided to start scanning some old black and white negatives that I had shot with my Exakta cameras from 1971-1973. While going thru the old negatives, I remembered back to the reason why I got into photography the 1st place. The magic of opening the developing tank to see how my negatives turned out or watching an image appear while swishing the printing paper through the developer tray. I then said to myself, "Self, wouldn't it be cool to shoot and develop some b&w film again".
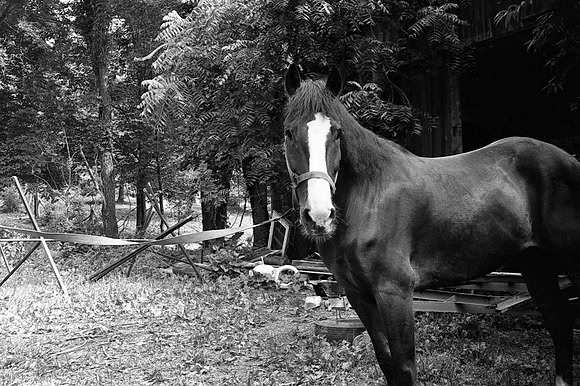

Kodak Plus-X rated ASA 125 - (1972 ASA was the standard )
So I decided to take a much needed break and step back , slow down and start shooting b&w film again. A 35 mm film cassettes holds 12, 24 or 36 exposures vs a digital card which can hold an almost infinite amount of images. This forces one to slow down, think and be more selective about each exposure. The only difference this time around I will scan my negatives instead of processing wet prints in the darkroom. After working and standing on my feet in a camera store for 40 years, sitting in front of my computer sounds much more appealing.
|
|
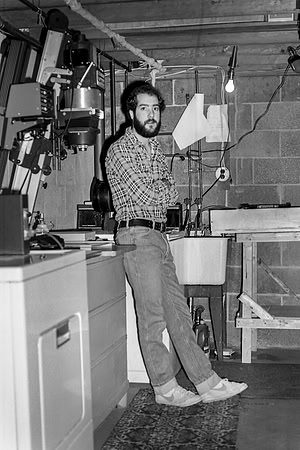
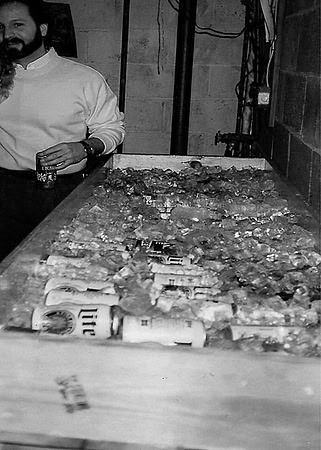
| My darkroom around 1978 or 79 | Darkroom sink came in handy for parties |
Before April of 2020, the last time I developed a roll of film was somewhere around 2002. As the image quality of digital cameras began to improve I began my migration from film to digital. In the top left photo I am standing in my darkroom somewhere around 1978 or 79 enlarging and processing prints from my favorite 35mm color slide film, Kodachrome 64. By this time my darkroom grew to 2 enlargers, 1 for b&w, 1 for color and a large wooden wet sink I built with the help of my dad. That sink was large enough to handle 3 16x20 trays with room to spare. That sink also came in handy for parties keeping the beverages cold ( photo top right ).
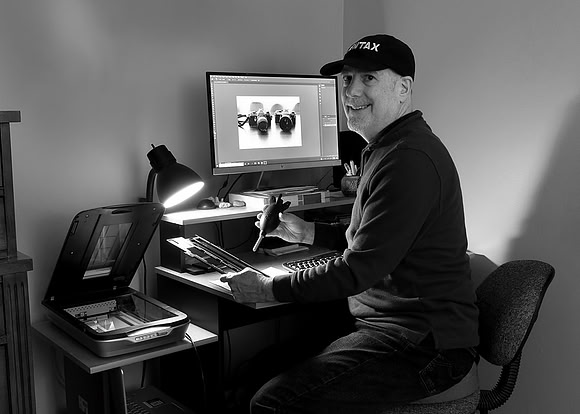
So why am enjoying b&w film photography again? Well, besides making me slow down and think more about each exposure, I came to a simple conclusion while scanning my old negatives and said, WOW!!! These look so cool. While a lot certainly has to do with the film grain, there is no doubt that film has a different look compared to a digital image and by using my scanner I can take the film image into Photoshop and retouch the the dust and scratches very nicely. There are countless videos on YouTube made by photographers who have never stop shooting or are coming back to film. There is definitely a film renaissance taking place in all formats. I too am now stepping back and feeling the magic. It is a photographic breath of fresh air.
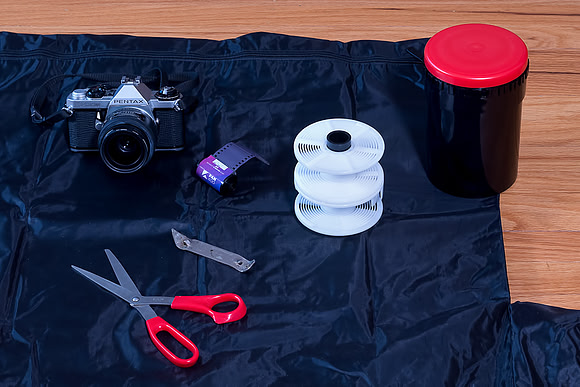
Here's what I needed to start out. #1 - I had to buy a film camera and a couple rolls of b&w film. Since 2004 I only own digital camera gear. #2 - I didn't want to light proof the darkroom again so, a film changing bag, that way I am able to load the film into the developing tank in broad daylight. #3 - A daylight developing tank, I am using is a Arista Premium plastic tank with adjustable ratchet type reels for 35mm or 120 film. #4 - Some sort of bottle opener to open the film cartridge and #5 - a pair of scissors to cut the film off of the spool. 1,2,3,4,5 and I'm ready to rock n roll.
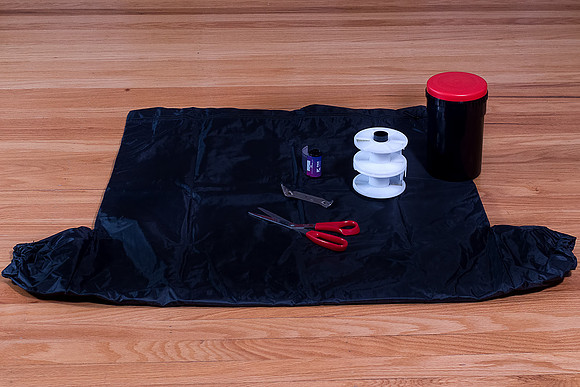
The film changing bag looks like a big t shirt. I put the daylight tank and reel or reels along with the film, a film canister opener and scissors into the bag and zipper it up. Once I place my arms into the sleeves of the bag it is now light tight. This allows me to open the film canister and load the film onto the reel. Once the loaded reel and or reels are placed into the tank and I have screwed down lid, it can be removed from the bag. I am now ready to develop my film in total daylight.
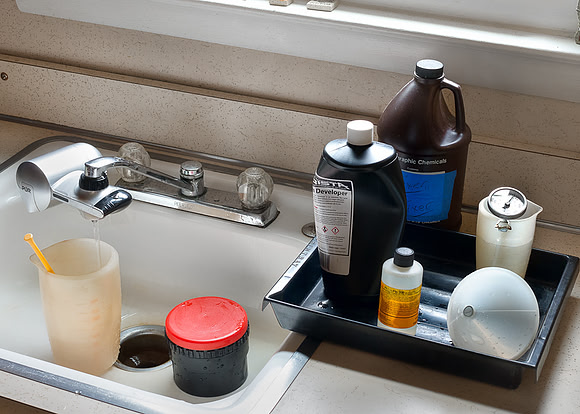
Developing B&w film is fairly easy. I now do it right in my kitchen sink. I use only 3 chemicals. 1st is the developer, 2nd is fixer and 3rd is a wetting agent such as Kodak Photo Flo. Equipment wise beside the developing tank I use a good thermometer, a couple of graduates, 8 and 32oz., a couple of brown plastic bottles, a funnel and stirring paddle.
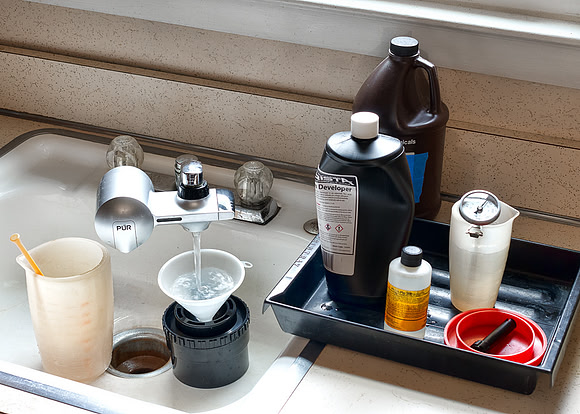
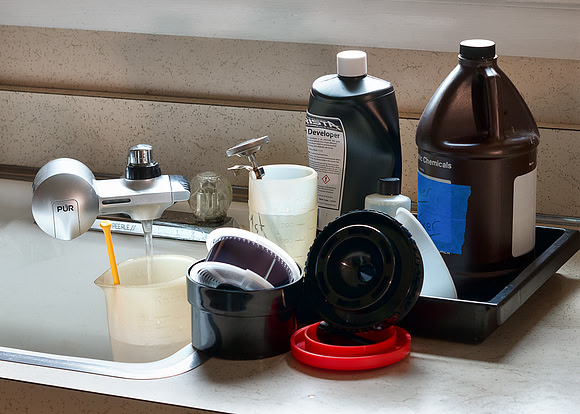
These are the basic steps I follow. I am not going to go into specific details pertaining to times and temperatures, since this will vary depending on film, developer and fixer type as well as the dilution of each chemical used.
1 - Start by pouring plain water into the developing tank, this pre wash step gets the film wet which prepares the emulsion surface for better interaction with the film developer.
2 - Pour out the pre wash water and pour in the film developer. Film developer is matter of personal taste and may depend on the film you prefer and the end result you are looking to achieve, I am currently using Arista Premium Liquid developer
3 - Pour out the developer and pour in the water bath rise - or optional stop bath for about 30 seconds - I nix the stop bath to avoid the acidic vapors- this step stops the action of the film developer
4 - Pour out the water bath and pour in the Fixer, this removes the unexposed silver and stabilizes the image on the film. I am using Arista Premiun Odorless Rapid Fixer. - I can't handle the acidic vapors from the stop bath or fixer anymore. If it wasn't for odorless fixer I probably would not be shooting film again.
5 - Pour the fixer back into the bottle and wash film for about 10 minuets.
6 - Wetting agent or PhotoFlo - diluted solution of water and few drops of wetting agent into the developing tank for around 30 seconds to a minuet. Wetting agent helps keep the film from getting water marks when drying and eliminates having to squeegee the film.
7 - Hang film to dry in place where there is as little dust as possible, if possible.
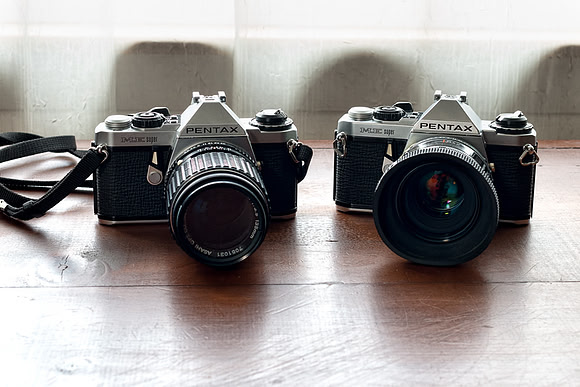
Pentax ME Super
These are the two 35mm film cameras I am currently shooting with. As mentioned before I just picked these up since all I have owned since 2004 are Pentax digital slrs. These are so compact and handle wonderfully and since I have a good size assortment of Pentax mount lenses I figured this would be good place to start. I chose these over the K1000 because of the large view finder making it much easier for me to focus. If I really take off with this film thing, I think the Pentax MX is next.
Ok now, how about some Photos!!!
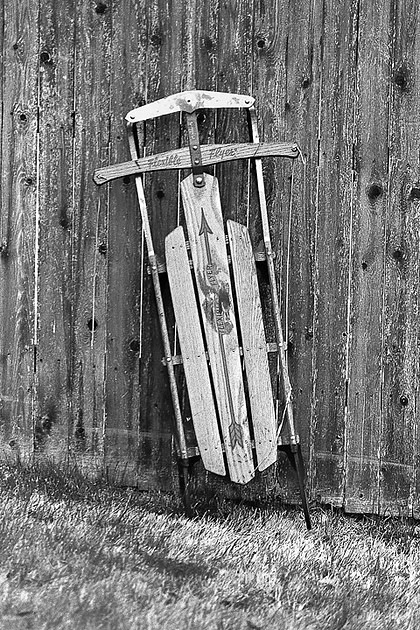 Ilford HP5 rated at ISO 400
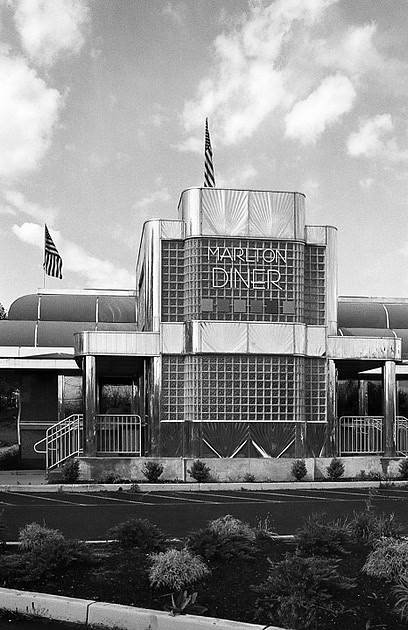 Ilford HP5 rated at ISO 200
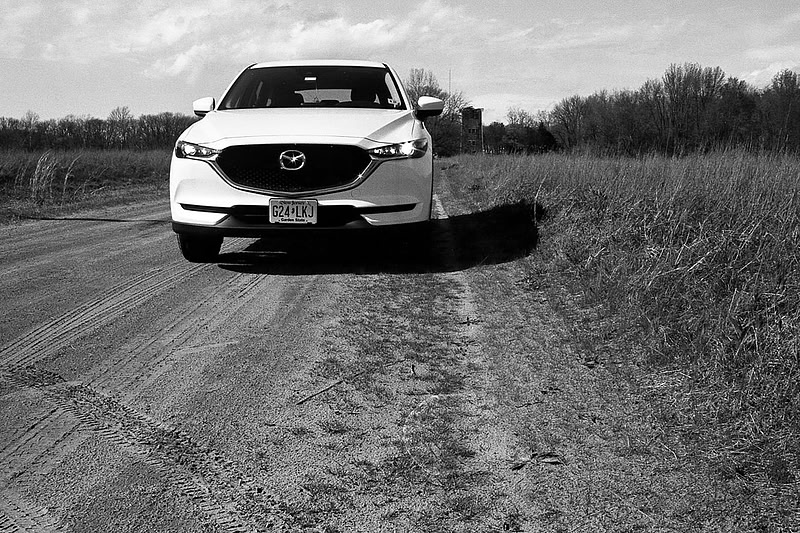
Ilford HP5 rated at ISO 200
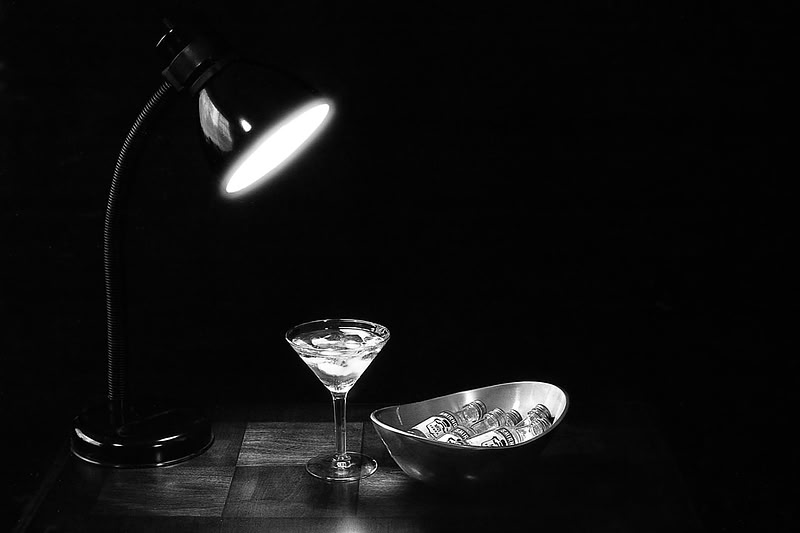 Arista EDU 100 rated at ISO 100
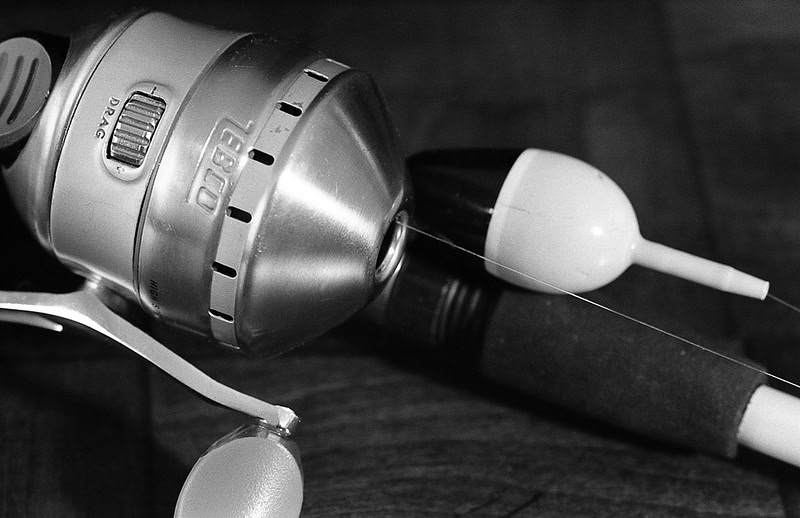 Ilford HP5 rated at ISO 400
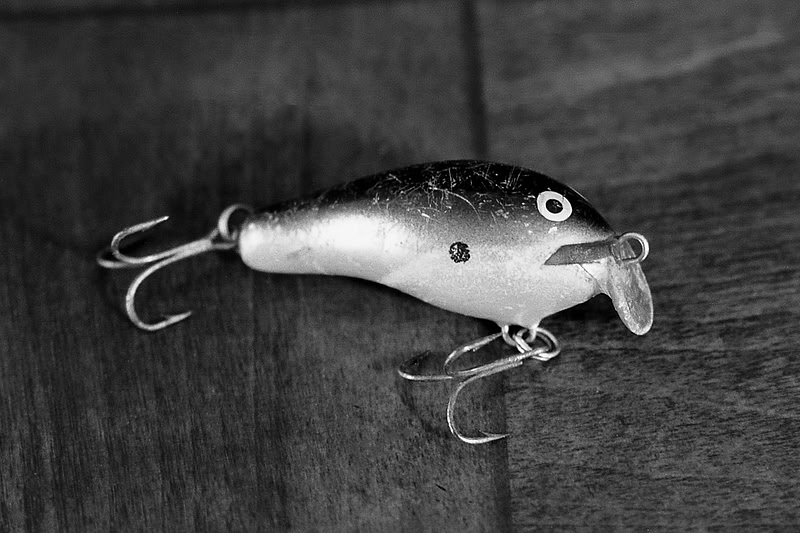 Ilford HP5 rated at ISO 400
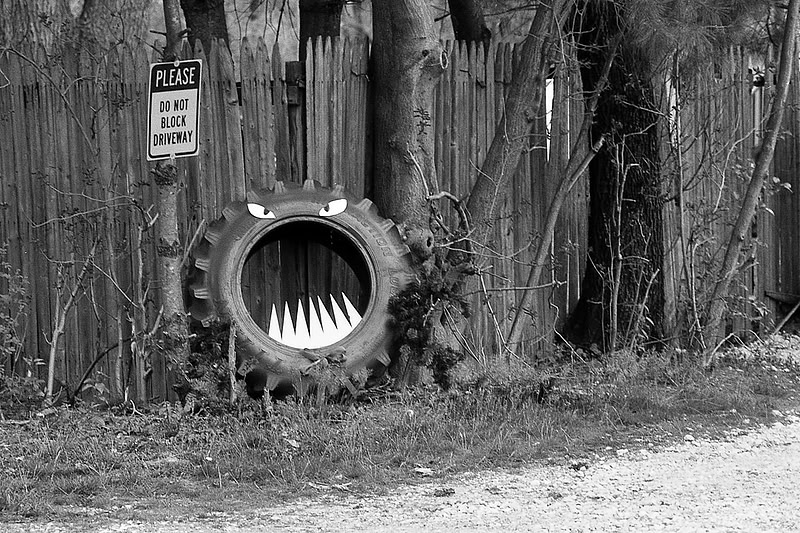 Arista EDU 100 rated at ISO 100
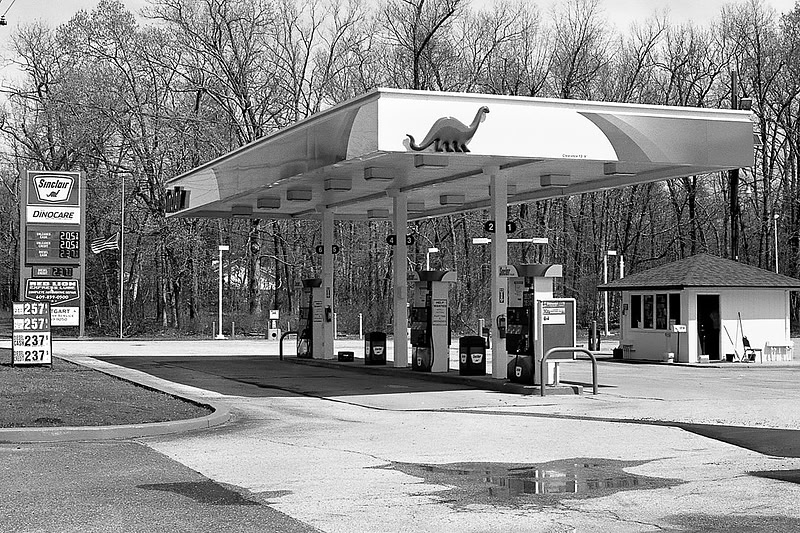 Ilford HP5 rated at 200 ISO
Even though the basics of film developing are the same, some things have changed since my earlier film days. My once favorite 35mm b&w film Kodak Panatomic X is no longer available, as well as Kodak Plus X. I've not to worry though, there are still so many choices of b&w film and darkroom chemistry available that I am sure I will find a combination that will work just fine. So the adventure begins again. Thanks for viewing.